How to clean the inside of a sealed headlight? Navigating the intricacies of maintaining a vehicle often involves addressing issues that go beyond the exterior. One common concern faced by car owners is the clouding or fogging of sealed headlights. Understanding how to clean the inside of a sealed headlight is crucial in enhancing visibility and preserving the aesthetics of your vehicle.
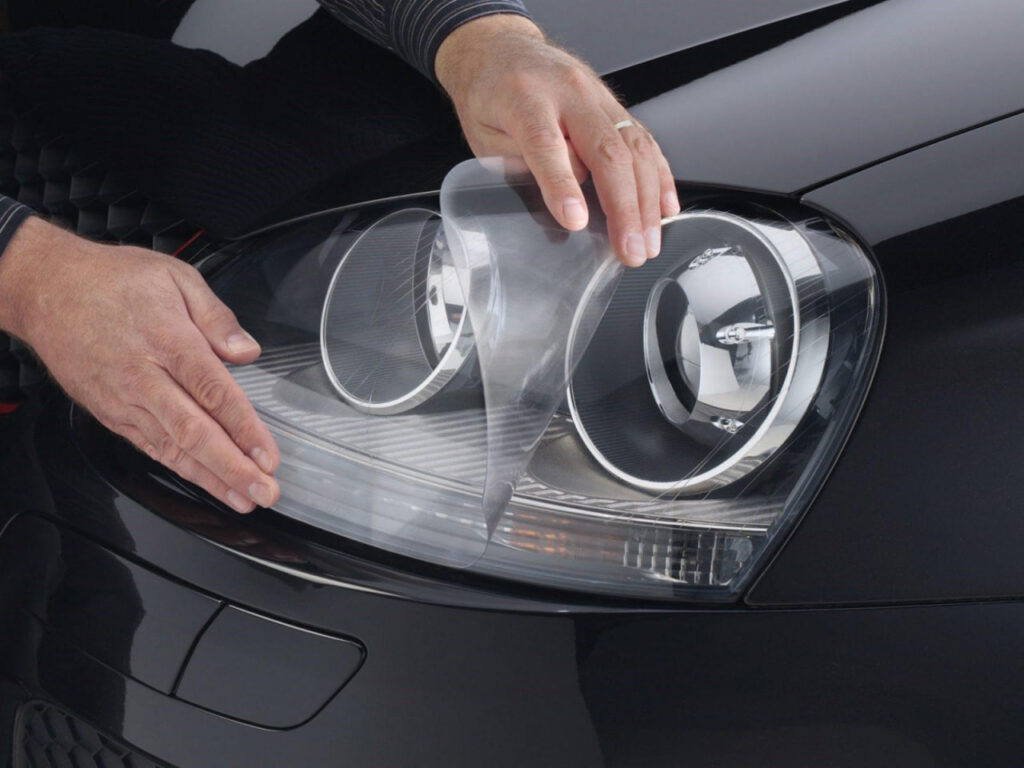
This article explores effective methods, such as using a magnetic cleaning tool and headlight restoration kits, to address this issue. From the inner side of the headlight housing to the intricate wiring connectors, various car models may demand specific approaches.
By delving into this guide, you’ll discover comprehensive insights into maintaining the clarity and functionality of your car’s headlights, regardless of the model or make.
Required steps to clean the inside of a sealed headlight
Accessing the interior of sealed headlights involves the following precise steps:
- Headlight Assembly Removal. Begin by detaching the headlight assembly from the vehicle, providing access to the sealed interior.
- Interior Accessibility. Locate the entry point to the sealed headlight, often through the bulb socket or other designated openings.
- Gentle Cleansing. Use a mild detergent or cleaning solution to gently clean the inside surfaces, ensuring the removal of any accumulated dirt or debris.
- Thorough Drying. Allow ample time for the interior to completely dry, preventing moisture buildup within the sealed headlight.
- Secure Resealing. Carefully reseal the headlight assembly, ensuring a tight and secure fit to maintain optimal functionality.
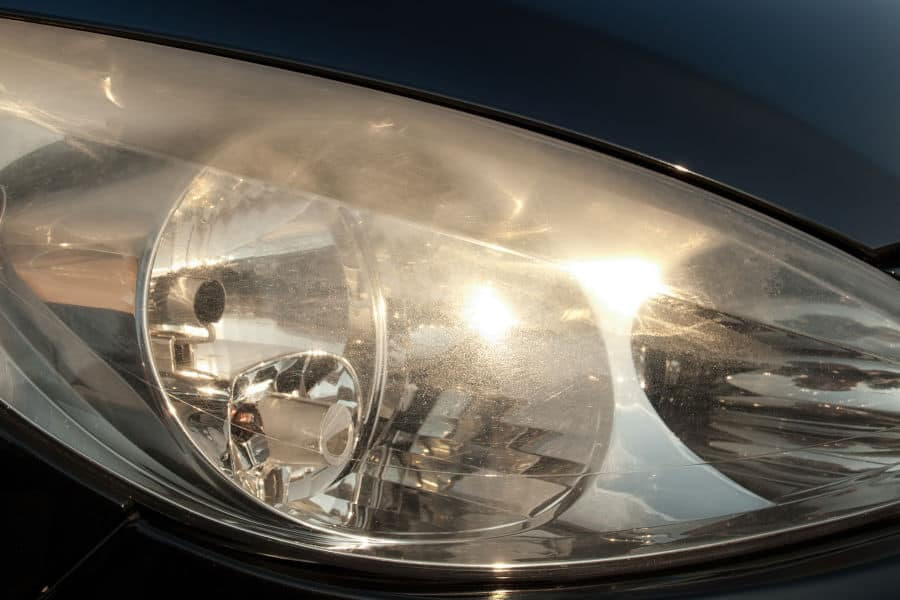
Following these steps ensures a meticulous cleaning process for the interior of sealed headlights, enhancing visibility and appearance.
Removing the headlight assembly
To start the process of removing the headlight assembly, it is crucial to first identify the specific model of the vehicle. Different car models may have variations in the process. Begin by locating the wiring connector attached to the back of the headlight housing.

Gently detach it, taking care not to damage the wiring or the connector itself. Some sealed headlights might have screws or clips securing them in place. Carefully remove these to access the inside of the headlights.
Once the headlight assembly is free, you can use a cleaning resolution or a headlight restoration kit to address any foggy or dirty areas inside headlights lens. Wipe the inside of the headlights tenderly with a soft cloth or cotton fabric, ensuring all loose dirt is removed.
Always exercise caution to avoid any damage to the plastic lenses or the wiring components inside the headlight assembly.
Accessing the sealed headlight interior
Accessing the interior of sealed car headlights involves a careful process. Start by removing the headlight assembly to gain access to the sealed headlight interior. Various tools, such as a headlight lens restorer or cleaning tool, can aid in this process.
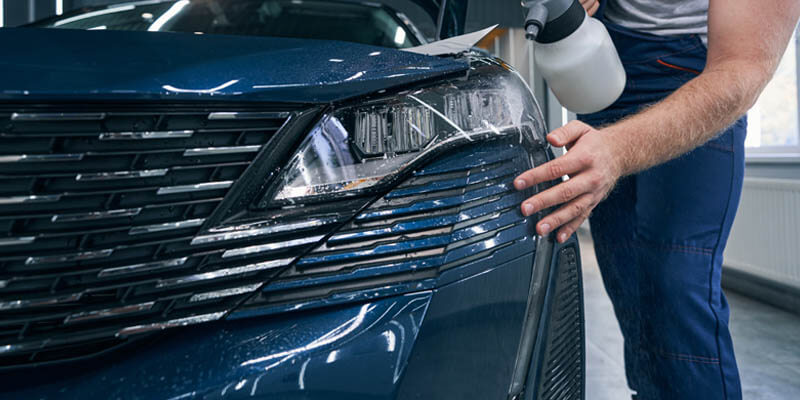
A cleaning resolution, like aerosol electrical contact cleaner or rubbing alcohol, helps eliminate foggy headlights. When dealing with the inside of headlights, it’s crucial to be mindful of the wiring connector and the delicate components inside headlights housing. Use a restoration kit suitable for your vehicle model to gently wipe and restore clarity.
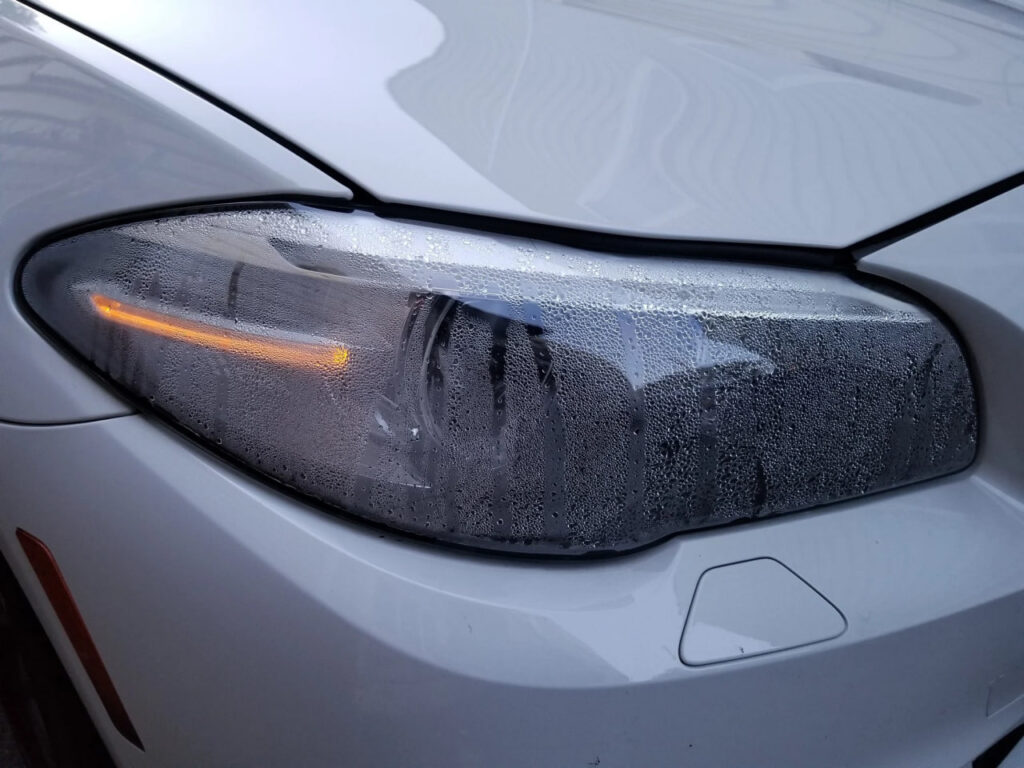
Ensure the conditions are suitable, avoiding exposure to hot or dry air during the cleaning. This method is adaptable to different automobile models, featuring a magnet inside to enhance precision in reaching specific areas.
Cleaning the interior with a mild detergent
To clean the interior of sealed headlights, start by removing the headlight assembly. Access the inside, using a cleaning tool to reach tight spots. Create a mild detergent solution for cleaning. Gently scrub the interior, focusing on any headlight covers.
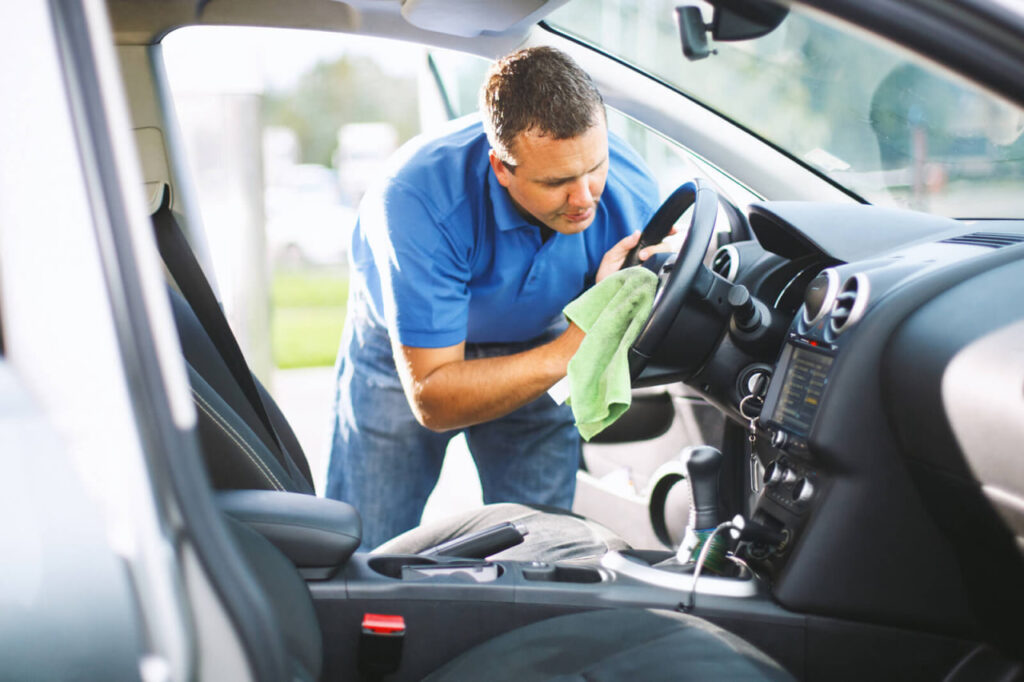
Ensure thorough cleaning to address foggy headlights. After cleaning, let the headlights dry completely. Reseal the headlight assembly securely. This process rejuvenates the inside of car headlights, promoting clearer and more effective illumination.
Regularly cleaning the inside of headlights not only enhances visibility but also contributes to the overall maintenance and appearance of the vehicle.
Ensuring a thorough drying process
Ensuring a comprehensive drying process is crucial in the maintenance of sealed car headlights. After cleaning the inside of the headlights with an appropriate cleaning tool, it’s imperative to allow them to thoroughly dry before resealing the headlight assembly.

This step prevents any moisture or residue from compromising the effectiveness of the headlights. Proper drying aids in maintaining the clarity of headlight covers, ensuring they remain free from fogging or haziness. Taking the time to adequately dry the inside of the headlights contributes to the overall longevity and performance of your vehicle’s lighting system.
Regularly cleaning car headlights and following a meticulous drying process enhances visibility and keeps your headlights in optimal condition.
Resealing the headlight assembly
Resealing the headlight assembly is a crucial step in maintaining the integrity of sealed headlights. After cleaning the inside of the headlights, the resealing process ensures that no contaminants enter the headlight housing.

This step involves placing the headlight cover back securely, creating a sealed environment for optimal performance. The goal is to prevent any foreign particles, moisture, or dirt from affecting the clarity and function of the headlights. Resealing not only protects the clean headlights but also contributes to the longevity of the headlight assembly.
A properly resealed headlight ensures that the inside of the headlights remains free from interference, allowing for clear and efficient illumination on the road.
Checking for clarity and effectiveness
After thoroughly cleaning the interior of sealed headlights, the next crucial step is to inspect for both clarity and effectiveness. This involves a meticulous examination to ensure that the cleaning process has restored optimal transparency to the inside of the headlights.
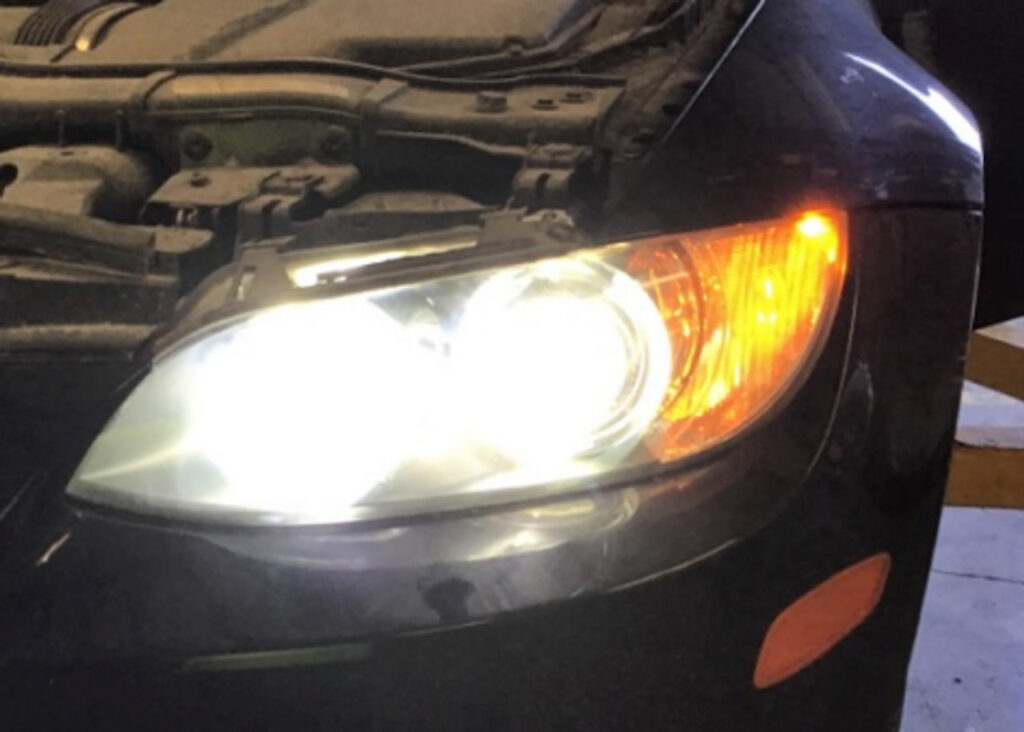
Evaluate the headlights from various angles, checking for any remaining residue or fogging that might impede the effectiveness of the lights. Assess the overall luminosity and clarity, verifying that the cleaning has indeed contributed to improved visibility.
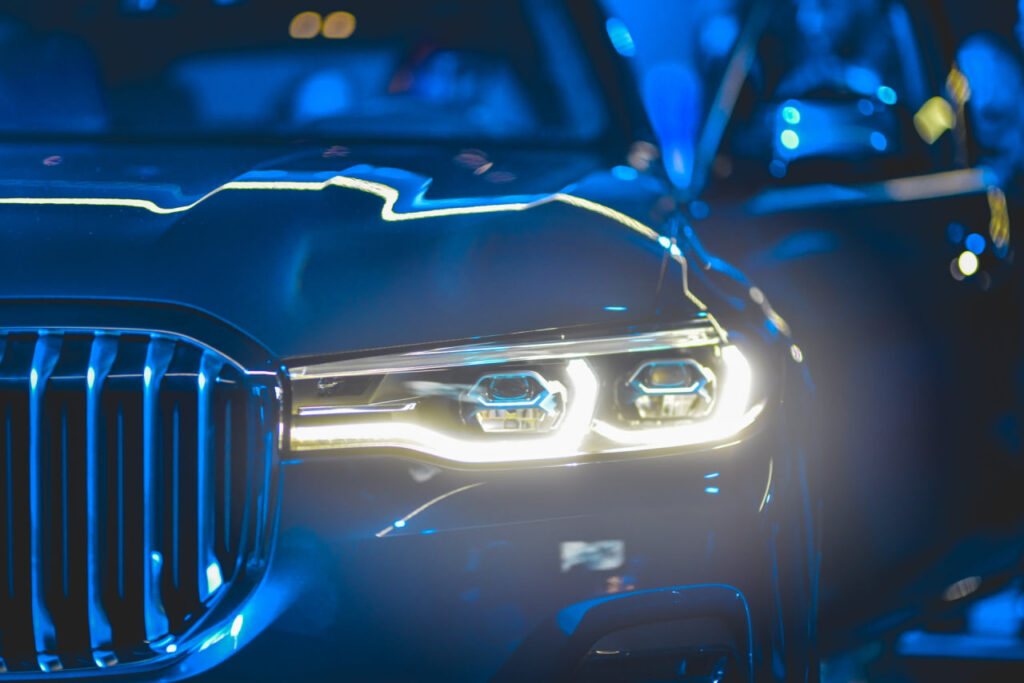
This thorough examination guarantees that the cleaning efforts have successfully revitalized the sealed headlights, enhancing their performance and ensuring clearer and more effective illumination on the road.
Conclusion
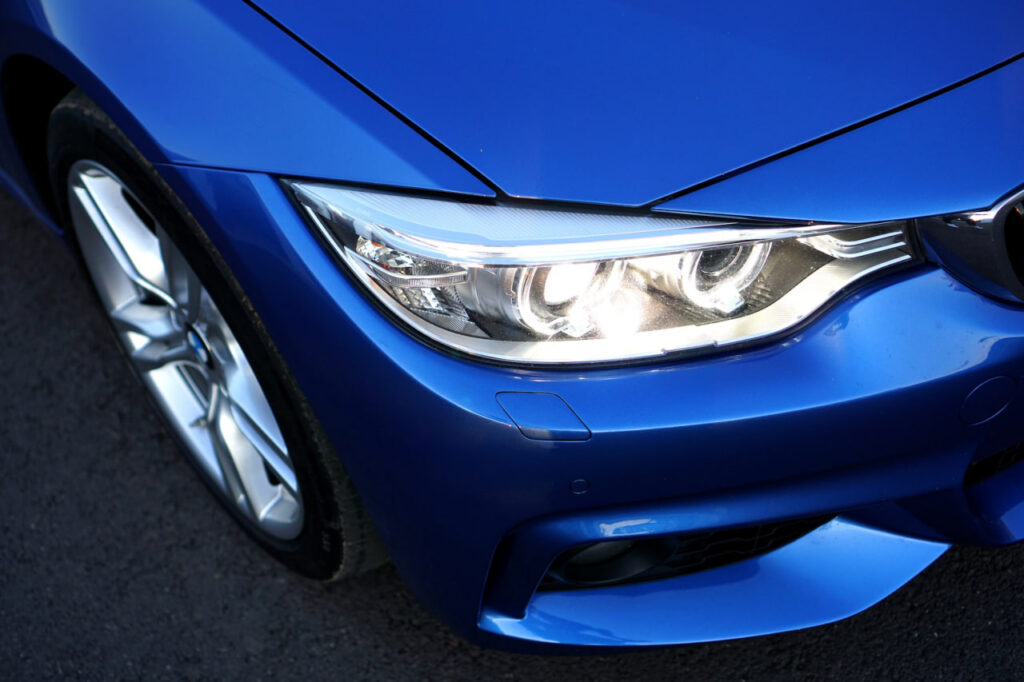
In conclusion, revitalizing the interior of headlights involves meticulous steps. By disassembling, cleaning, and carefully resealing the headlight, one can achieve enhanced clarity and luminosity. The process ensures optimal performance, showcasing the importance of maintaining the inside of headlights for both safety and aesthetics.
FAQ
How do you clean sealed headlights?
Gently cleanse the interior of sealed headlights by removing the assembly, accessing the interior, and using a mild solution for effective cleaning.
What is the coating on the inside of the headlight?
The interior of the headlight features a protective coating that safeguards against moisture and external elements, ensuring optimal performance.
How do you clean headlight assembly?
Clean the headlight assembly by carefully detaching it, accessing the interior, and using a mild cleaning solution to remove accumulated dirt or debris.
How do you separate headlight lenses?
To separate the headlight lens, disassemble the headlight carefully, ensuring a meticulous separation without causing damage.
How can I make my headlights crystal clear again?
Restore the clarity of headlights by using a detailed cleaning process, removing any haziness or discoloration for crystal-clear visibility.
How do you permanently remove oxidation from headlights?
Effectively eliminate oxidation from headlights by using specialized cleaning agents and methods that ensure a lasting and thorough removal of oxidation, enhancing headlight longevity.

